How I Match Shopify Size Charts to Product Families Without a Maintenance Mess
I used to treat a size chart as a product-description task: finish the copy, paste in a table, move to the next SKU. That works until the collection grows. Then one fit change turns into a scavenger hunt, and a chart intended for a relaxed tee quietly appears beside a slim-cut shirt.
The fix was not to make one giant ‘universal’ chart. It was to build a small set of charts around product families, then give each family a clear rule. That keeps the store useful for shoppers and maintainable for the person who has to update it.
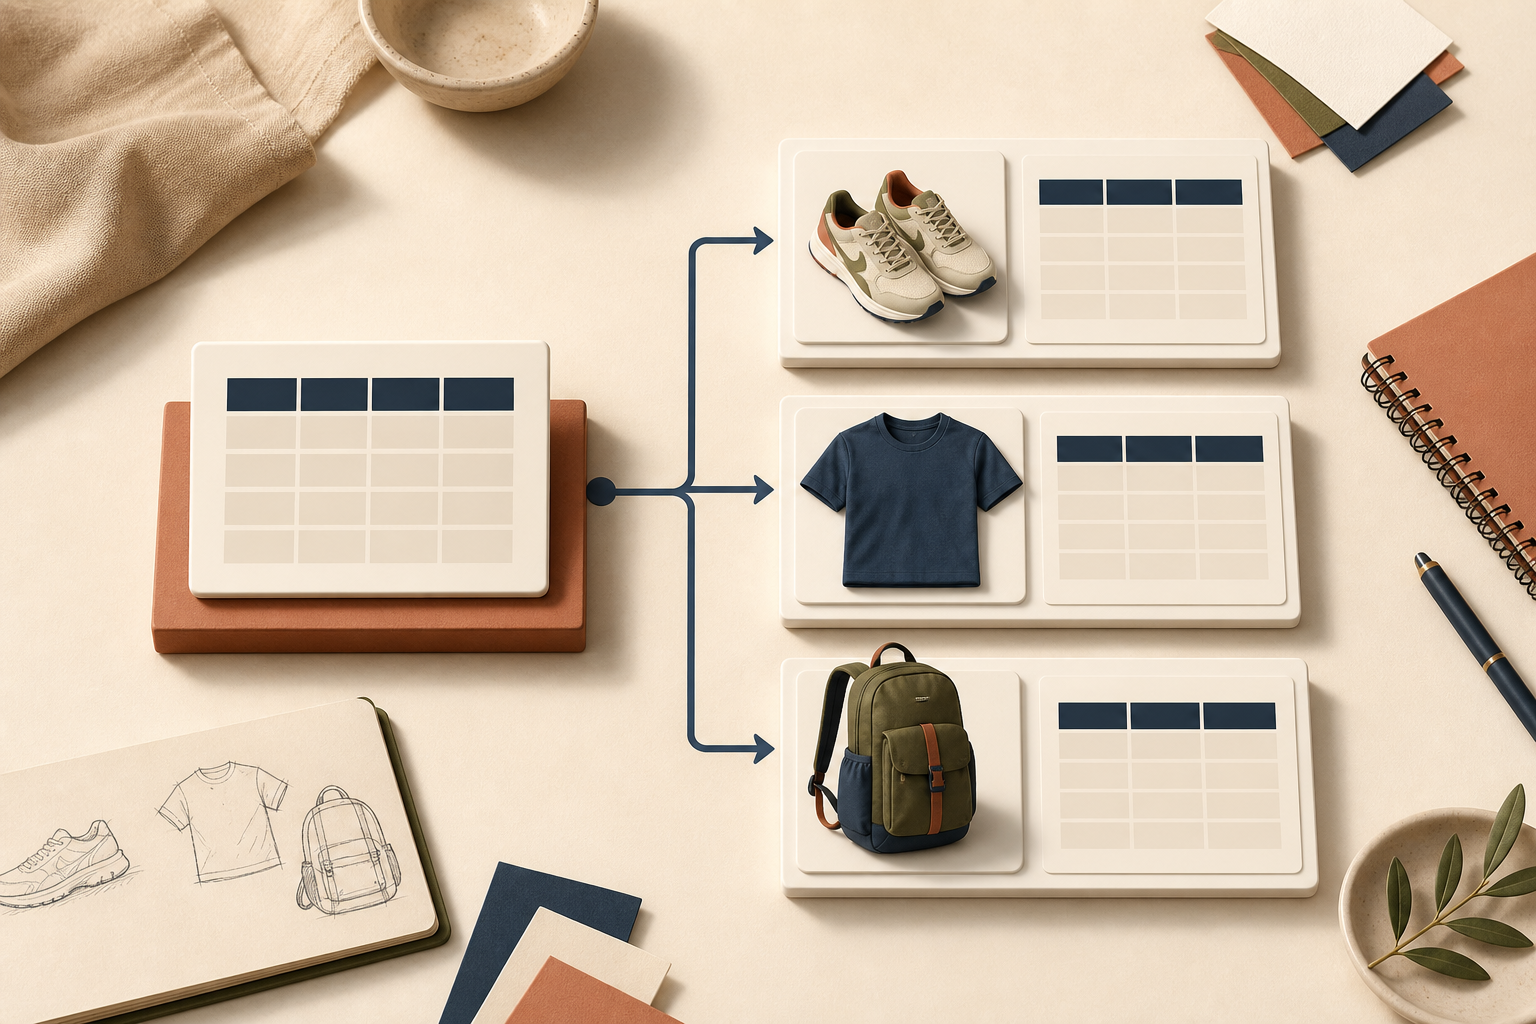
Start With the Fit Decision, Not the Category Name
A category alone is rarely specific enough. ‘Tops’ may contain fitted rib tees, oversized cotton tees, cropped tanks, and structured shirts. They might all be tops in Shopify, but they do not make the same promise on the product page.
Before I create a chart, I make a quick fit map. For each product family, I note:
- the garment or product shape
- whether the measurements are garment measurements or body measurements
- the intended fit: slim, regular, relaxed, or oversized
- the units a buyer is likely to use
- the exception that would make the shared chart misleading
For example, a women’s relaxed sweatshirt and a men’s regular-fit sweatshirt may share fabric and construction, but I would not automatically share their chart. The useful question is: could a shopper use the same measurement instruction and make the same size decision? If not, they need different guides.
This is also where I avoid a common shortcut: using brand size labels as the whole chart. S, M, and L do not travel well between suppliers, regions, or even seasons. The measurements do the real work.
Build a Small Chart Library
My goal is not one chart per SKU. It is a chart library with a sensible number of reusable building blocks. A typical apparel store might begin with:
- a core unisex tee and sweatshirt chart
- a fitted women’s top chart
- a bottoms chart with waist, hip, rise, and inseam
- a dress or skirt chart
- a footwear chart
- an accessories chart where dimensions matter
Each one needs only the columns that help somebody choose. A shoe chart does not need a chest measurement; a backpack chart needs capacity or physical dimensions, not a body-size row. When the table includes irrelevant fields, shoppers work harder and trust it less.
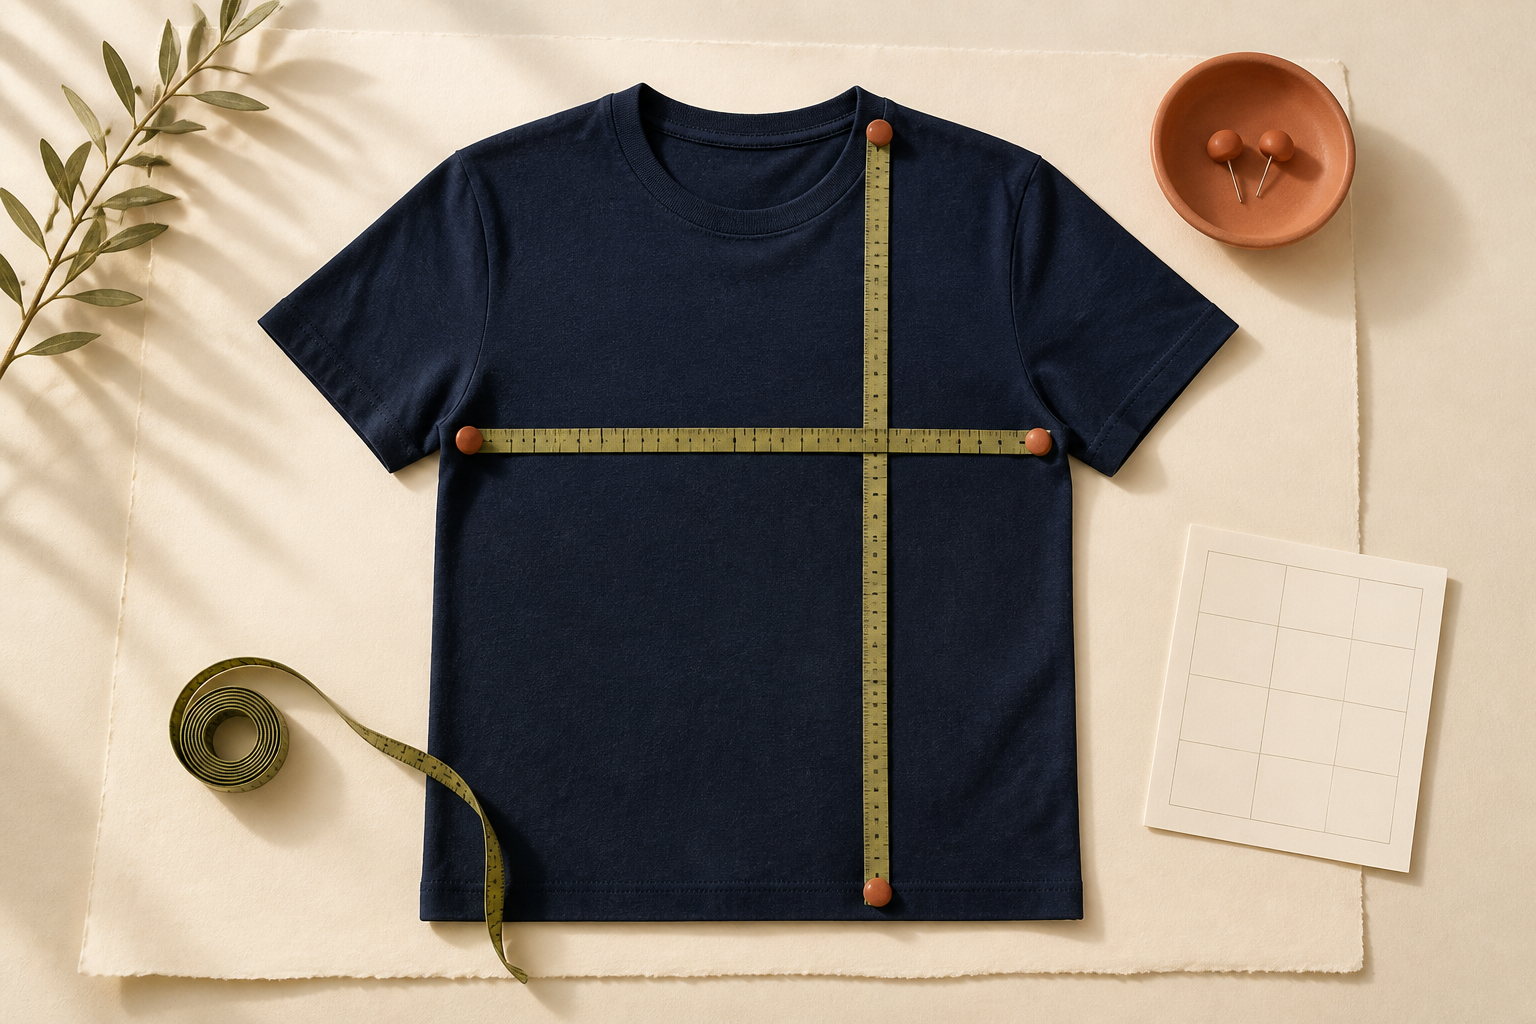
I also keep a measurement guide with the chart. A grid can say ‘chest,’ but a simple visual of where to measure a garment flat removes the ambiguity. This is especially important when the chart uses garment measurements rather than body measurements.
Define the Exceptions Before You Automate
The chart library creates consistency; the exceptions protect accuracy. I write them down before I add assignment rules. The usual exceptions are easy to recognize:
- a new supplier uses a different grading scale
- a silhouette is intentionally oversized or unusually fitted
- a regional collection needs a different unit convention
- a product has a special construction, such as stretch fabric or a tall inseam
That list tells me when to split a product family rather than forcing the product into the nearest existing chart. I used this approach when I wrote about splitting size guides by product family: the work is much lighter when the split happens deliberately, before a collection turns into dozens of exceptions.
Turn the Map Into Shopify Rules
Once the library and exceptions are clear, I set the matching logic. With Supra Size Chart, I can create the chart centrally, attach the matching measurement guide, and assign it by product, collection, product type, vendor, or tag. The theme app block then renders it wherever a product matches the rule.
I start broad only when the products are genuinely alike. A ‘Footwear’ collection can receive the footwear chart. For a fitted capsule, I prefer a dedicated product type or tag so I do not accidentally cover the rest of the tops collection. The more specific rule should represent a conscious merchandising decision, not a cleanup job after an incorrect chart appears.
A store-wide default is useful as a safety net, but I do not use it to hide unfinished setup. It should be a chart that is broadly safe or a temporary internal reminder to finish the assignment—not a vague table that pretends every item fits the same way.
Make the Chart Easy to Operate Later
The best catalog setup survives a new collection, a supplier change, and a teammate taking over. I use three habits to make that happen:
- Name charts for the decision they support. ‘Women’s fitted rib top — garment measurements’ is more useful than ‘Chart 4.’
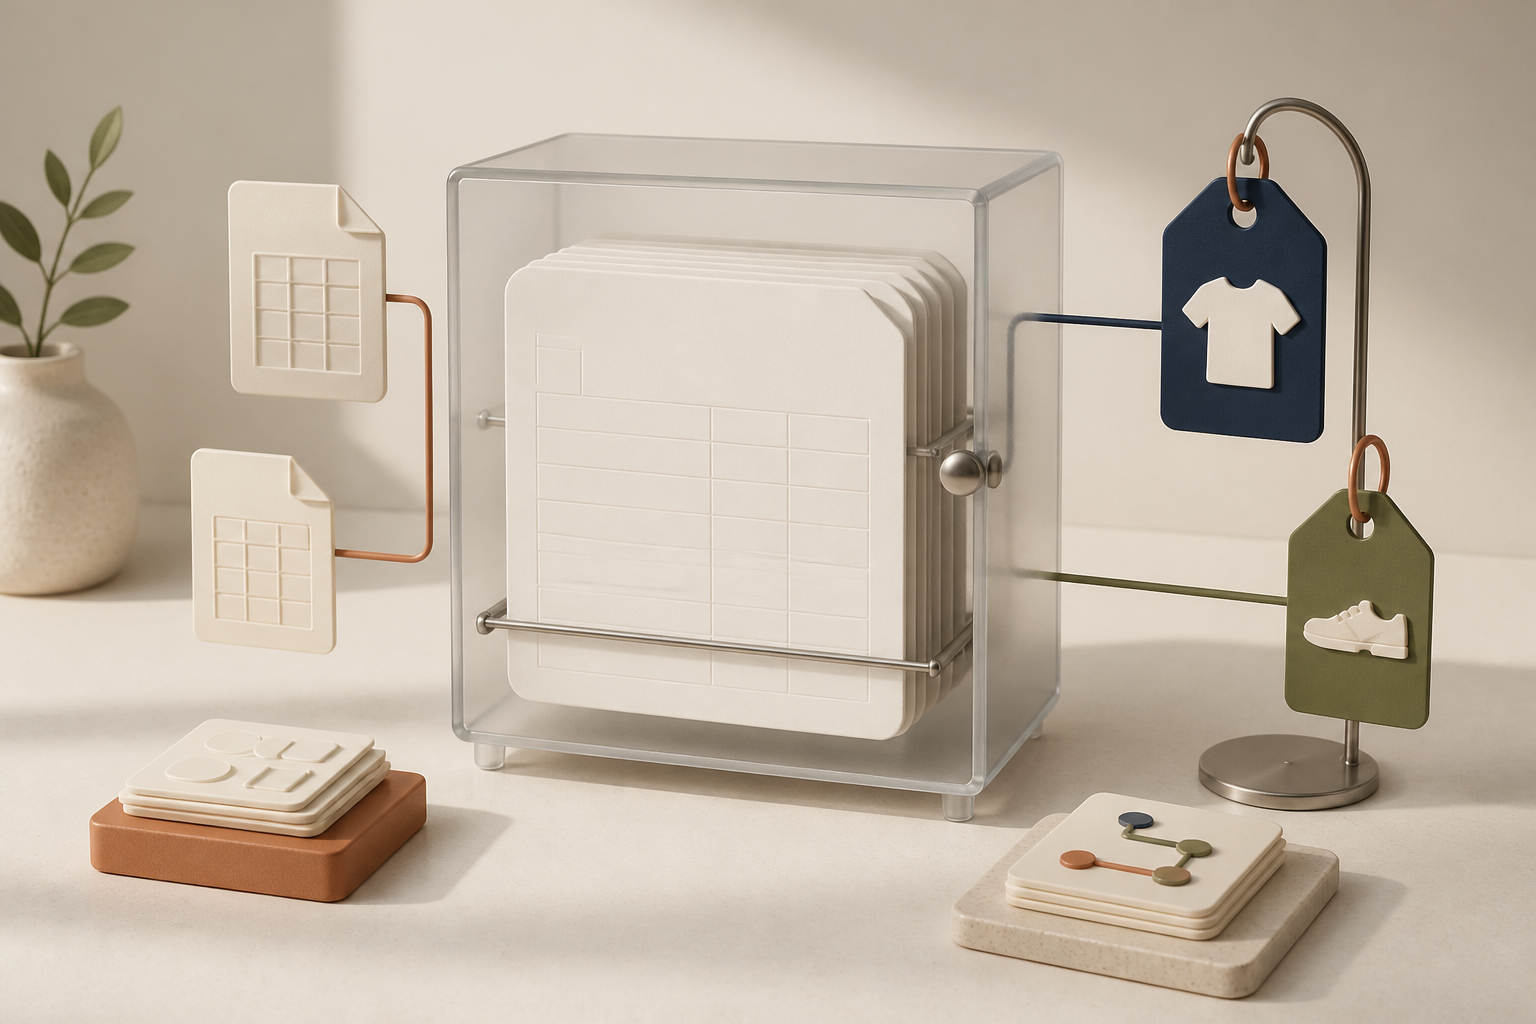
- Keep the data portable. Supra Size Chart stores charts as Shopify metaobjects and supports CSV or JSON import and export. That means the sizing data remains part of the store rather than trapped in copied product HTML.
- Run a release check. Before a collection goes live, check that every new product resolves to the correct chart, the guide matches the product shape, and the metric/imperial toggle behaves as expected. My four-check release gate is a useful final pass.
When a fit changes, update the central chart and then spot-check the products that inherit it. That is a much smaller job than hunting tables through product descriptions. For a seasonal reset, this Shopify size-chart refresh workflow is the same principle applied to an incoming collection.
Choose the Display That Fits the Purchase
Chart quality is only half the job; shoppers still need to notice it. Inline works well for fit-sensitive basics, where the chart is part of the buying decision. An accordion keeps a long product page calm. A modal is useful when the main product page needs to stay compact but the chart needs room for a measurement guide.
I make that choice per product family, not because one display mode looks fashionable in the theme editor. If shoppers compare inseam, rise, and waist, hiding the chart too deeply is rarely helpful. If the product has one straightforward dimension, an accordion may be enough.
The Practical Next Step
Open your Shopify catalog and list the five product families that generate the most sizing questions. For each one, write the measurements a shopper actually needs and the exception that would make a shared chart unsafe. That gives you a real chart library plan—not another spreadsheet to paste into product descriptions.
Then install Supra Size Chart from the Shopify App Store, build the first chart, add a measurement guide, and assign it to one clean product family. Once the rules are right, expanding coverage is the easy part.