I Stopped Uploading Product Photos Just to Make Them Store-Ready
I used to treat product-photo prep as the annoying last mile of a launch. Someone would send a folder, I would upload assets to whichever converter I found first, then I would hope the images looked right on the product page. It was slow, inconsistent, and a little reckless when the files were for an unreleased collection.
Now I run a short browser-based handoff before anything reaches Shopify. Tiny Online Tools is the utility shelf I use for the small jobs: inspect what is inside a file, remove what should not travel with it, resize deliberately, and make a web-ready copy. Its positioning is refreshingly simple: browser-based tools, no account, no uploads, and no tracking.
That does not replace a real asset library or an image direction. It does stop a two-minute cleanup from becoming another account, another app, or another copy of a client file on a random service.
My Four-Step Product Photo Handoff
The goal is not to process every photo the same way. The goal is to make the handoff repeatable enough that a collection page, a marketplace listing, and an email crop all begin from a file I understand.
1. Inspect the file before changing it
I start with the Image Metadata Viewer. JPEG, PNG, and WebP files can carry more than pixels: location data, camera information, timestamps, and software details can survive a simple export. I do not assume they are there, but I do check before sharing a product shoot outside the team.
This is especially useful when a founder has shot a first batch of samples on a phone. The images may be perfectly usable, but I want to know what is embedded before they end up in a freelancer brief, a supplier thread, or a press folder.

2. Remove metadata only when the handoff calls for it
If the inspection gives me a reason to clean the file, I use Remove Image Metadata. It accepts JPEG, PNG, and WebP images and is explicitly built to strip EXIF, GPS, and other metadata.
I keep the untouched master in our source folder. The cleaned version is the outbound version. That distinction matters: stripping metadata is a distribution decision, not an excuse to overwrite the original.
This is the same operational instinct behind the size-chart sandbox I use before turning on rules: make the risky decision visible and reversible before it affects the whole storefront.
3. Resize for the slot, not for a vague idea of optimization
Then I open Resize Image. I decide where the file is going before I choose dimensions. A hero image, a product-card image, and a zoom detail do not need the same source copy.
My quick checks are:
- Is this version meant for a Shopify product gallery, a collection card, or a campaign module?
- Will the crop preserve the product’s important detail?
- Do I need a square, portrait, or landscape derivative?
- Can someone else tell which final version belongs in which slot?
I learned this the hard way while building one product content system for three catalogs. A technically clean image still fails if it was prepared for the wrong surface.
4. Make a lightweight web copy
When I begin with PNG, I make a publishable alternative through Convert PNG to WebP. When size is the immediate problem, I check Compress Image instead. I do not treat either tool as magic; I open the result and look at the product edges, texture, type on packaging, and any close-up details shoppers rely on.
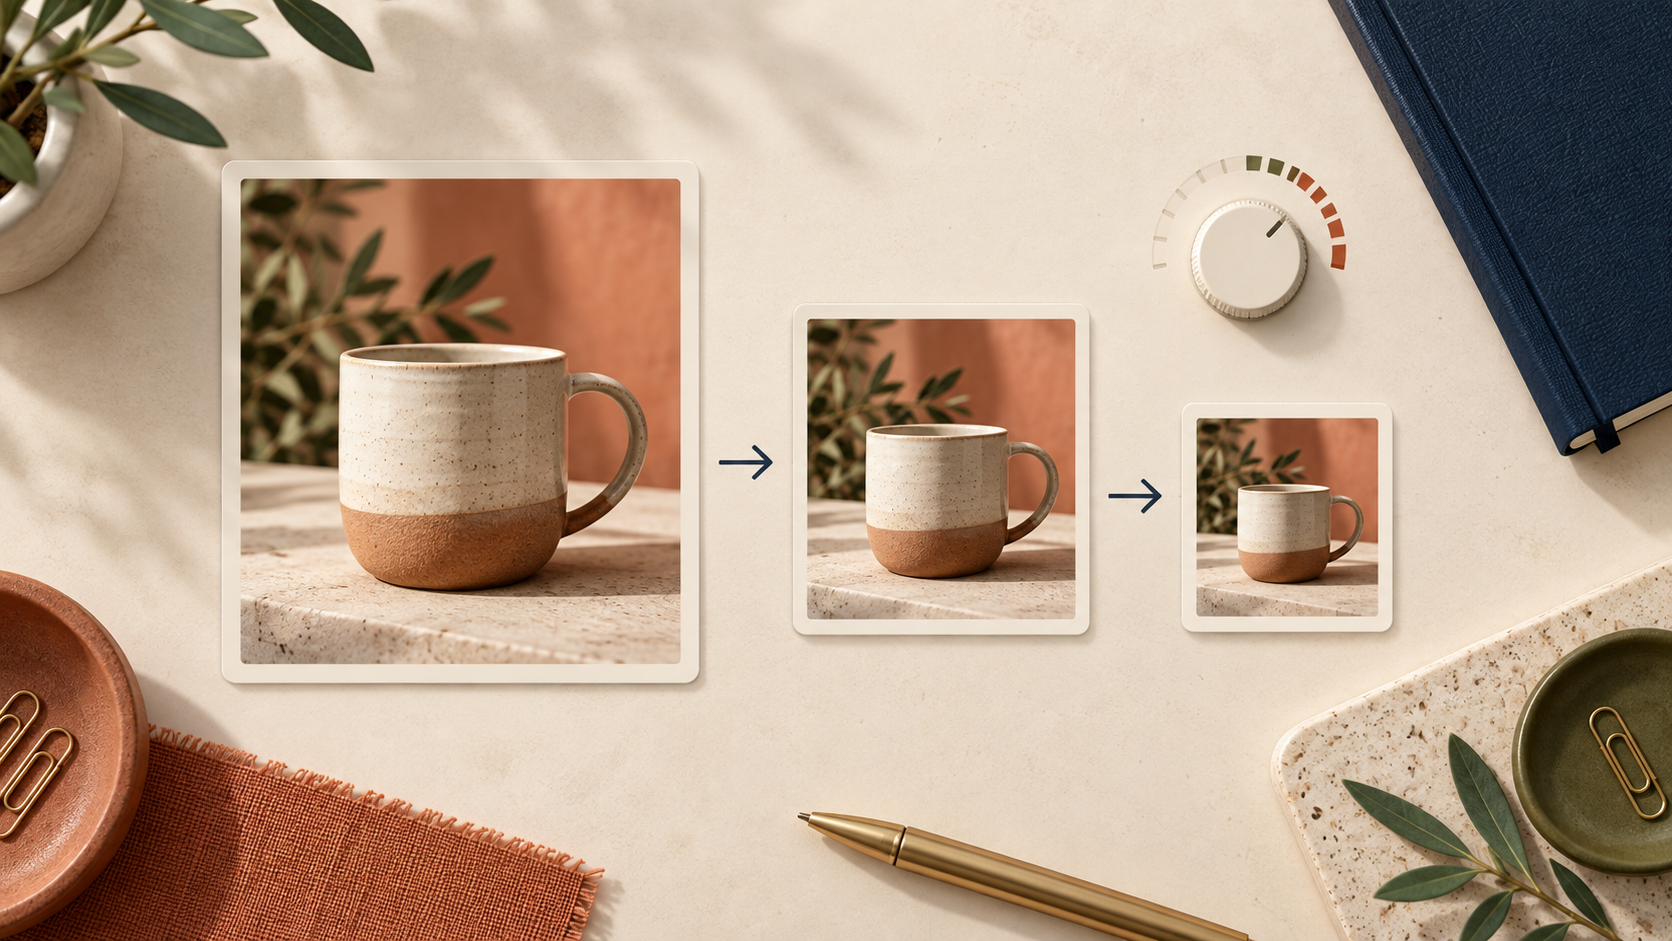
That review step is non-negotiable. The workflow is similar to how I approach Shopify swatch labels before a color launch: a small signal can change how trustworthy the product looks.
What I Actually Hand to the Store Team
By the end, I want a boring, legible package:
- an untouched source image in the asset library;
- a cleaned outbound copy where appropriate;
- a resized copy named for its intended placement;
- a WebP or compressed publish copy that has been visually reviewed.
That is enough structure for a small team to move quickly without guessing. It also makes it easier to hand work to a merchant, developer, or agency without a dozen Slack messages about which file is current. If the asset is part of a larger launch, I pair this with the pre-launch check for Shopify size charts so the visual and purchase-confidence work land together.

The Rule I Keep
Do not upload a product photo just because the job is small. First decide what needs to change, keep the original safe, and use a focused tool for that one change.
Open Tiny Online Tools, run one product image through this four-step handoff, and save the result beside its original. The next launch will have fewer mystery files—and a much cleaner path to the storefront.