How to Turn Plain Product Photos Into Shopify Marketing Assets
How to Turn Plain Product Photos Into Shopify Marketing Assets
I kept wasting time making the same product photo do four jobs. First it had to look clean on the product page. Then it had to become a lifestyle shot, then an ad asset, then sometimes a short video frame. That is not one task. That is four.
Supra AI Photo Studio is the Shopify app I would use to cut that loop down. It turns plain product photos into cleaner studio images, model try-ons, object-placement scenes, UGC-style videos, and b-roll clips inside Shopify. The app listing is here, and the landing page is here. There is also a demo trailer if you want to see the workflow before installing it.
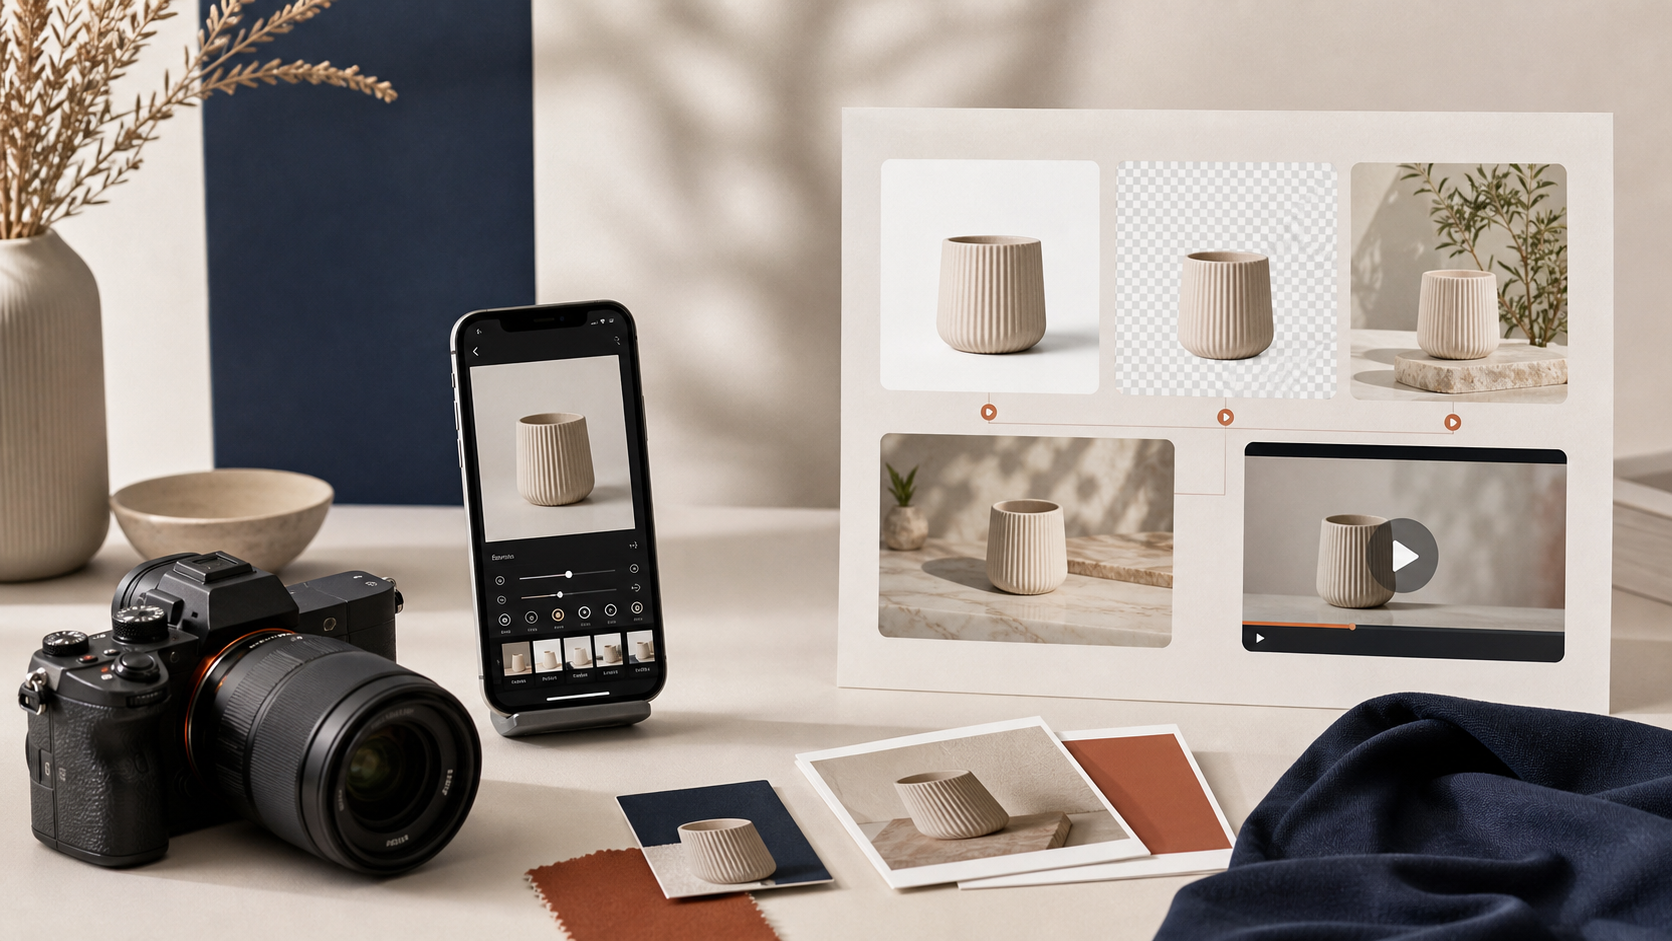
If you want the short version, the workflow is simple: start with one usable source photo, clean it up, decide whether you need a studio shot or a lifestyle scene, and then turn the same product into the rest of the creative set. I would not use this to rescue a terrible image. The help docs are clear that better source images give better output.
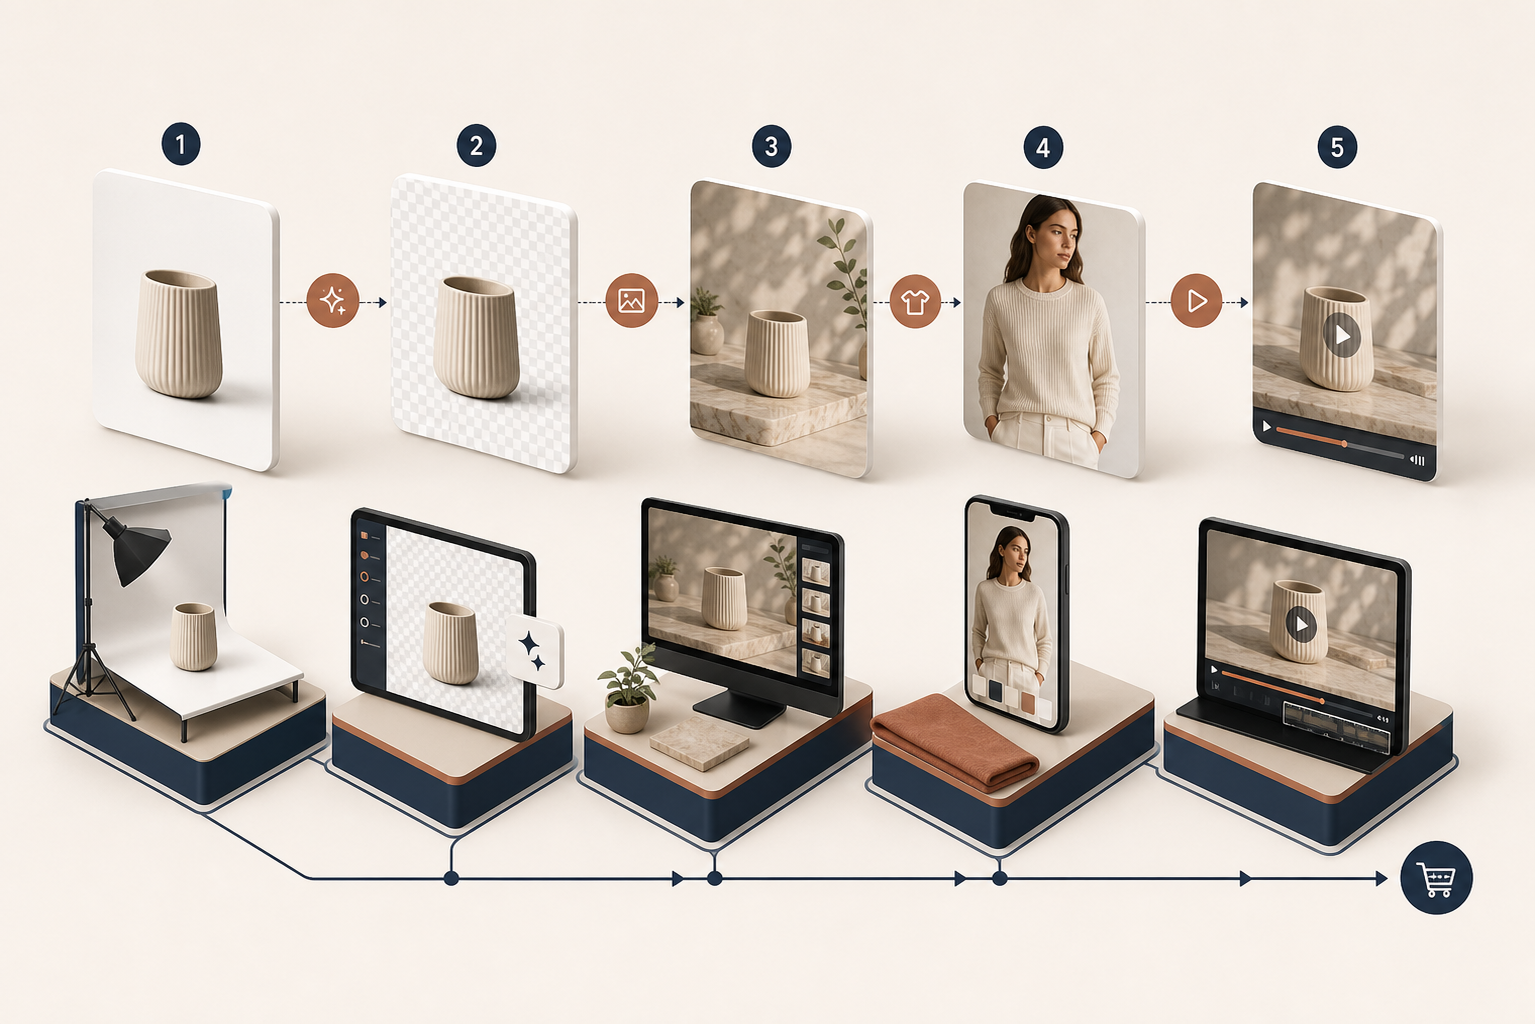
What I Want Out of the Workflow
I do not want AI to "make the photo better" in some vague sense. I want it to move one usable asset into the places where I actually need content:
- catalog image
- lifestyle shot
- on-model variation
- mockup or placement version
- short video test
That is why the first thing I look for is whether the app lets me keep the editing chain tight. Supra does that with background removal, upscaling, auto-enhance, object placement, try-on, and video generation. If you want the deeper cleanup-first version, I covered that in How to Create Studio-Quality Shopify Product Photos From Plain Shots.
Start With the Editor, Not the Fantasy
The editor matters because it shows you the whole workflow at once: top bar for undo, redo, download, and publish; tools on the left; canvas on the right; image gallery at the bottom. That is the kind of layout I trust more than a flashy demo video.
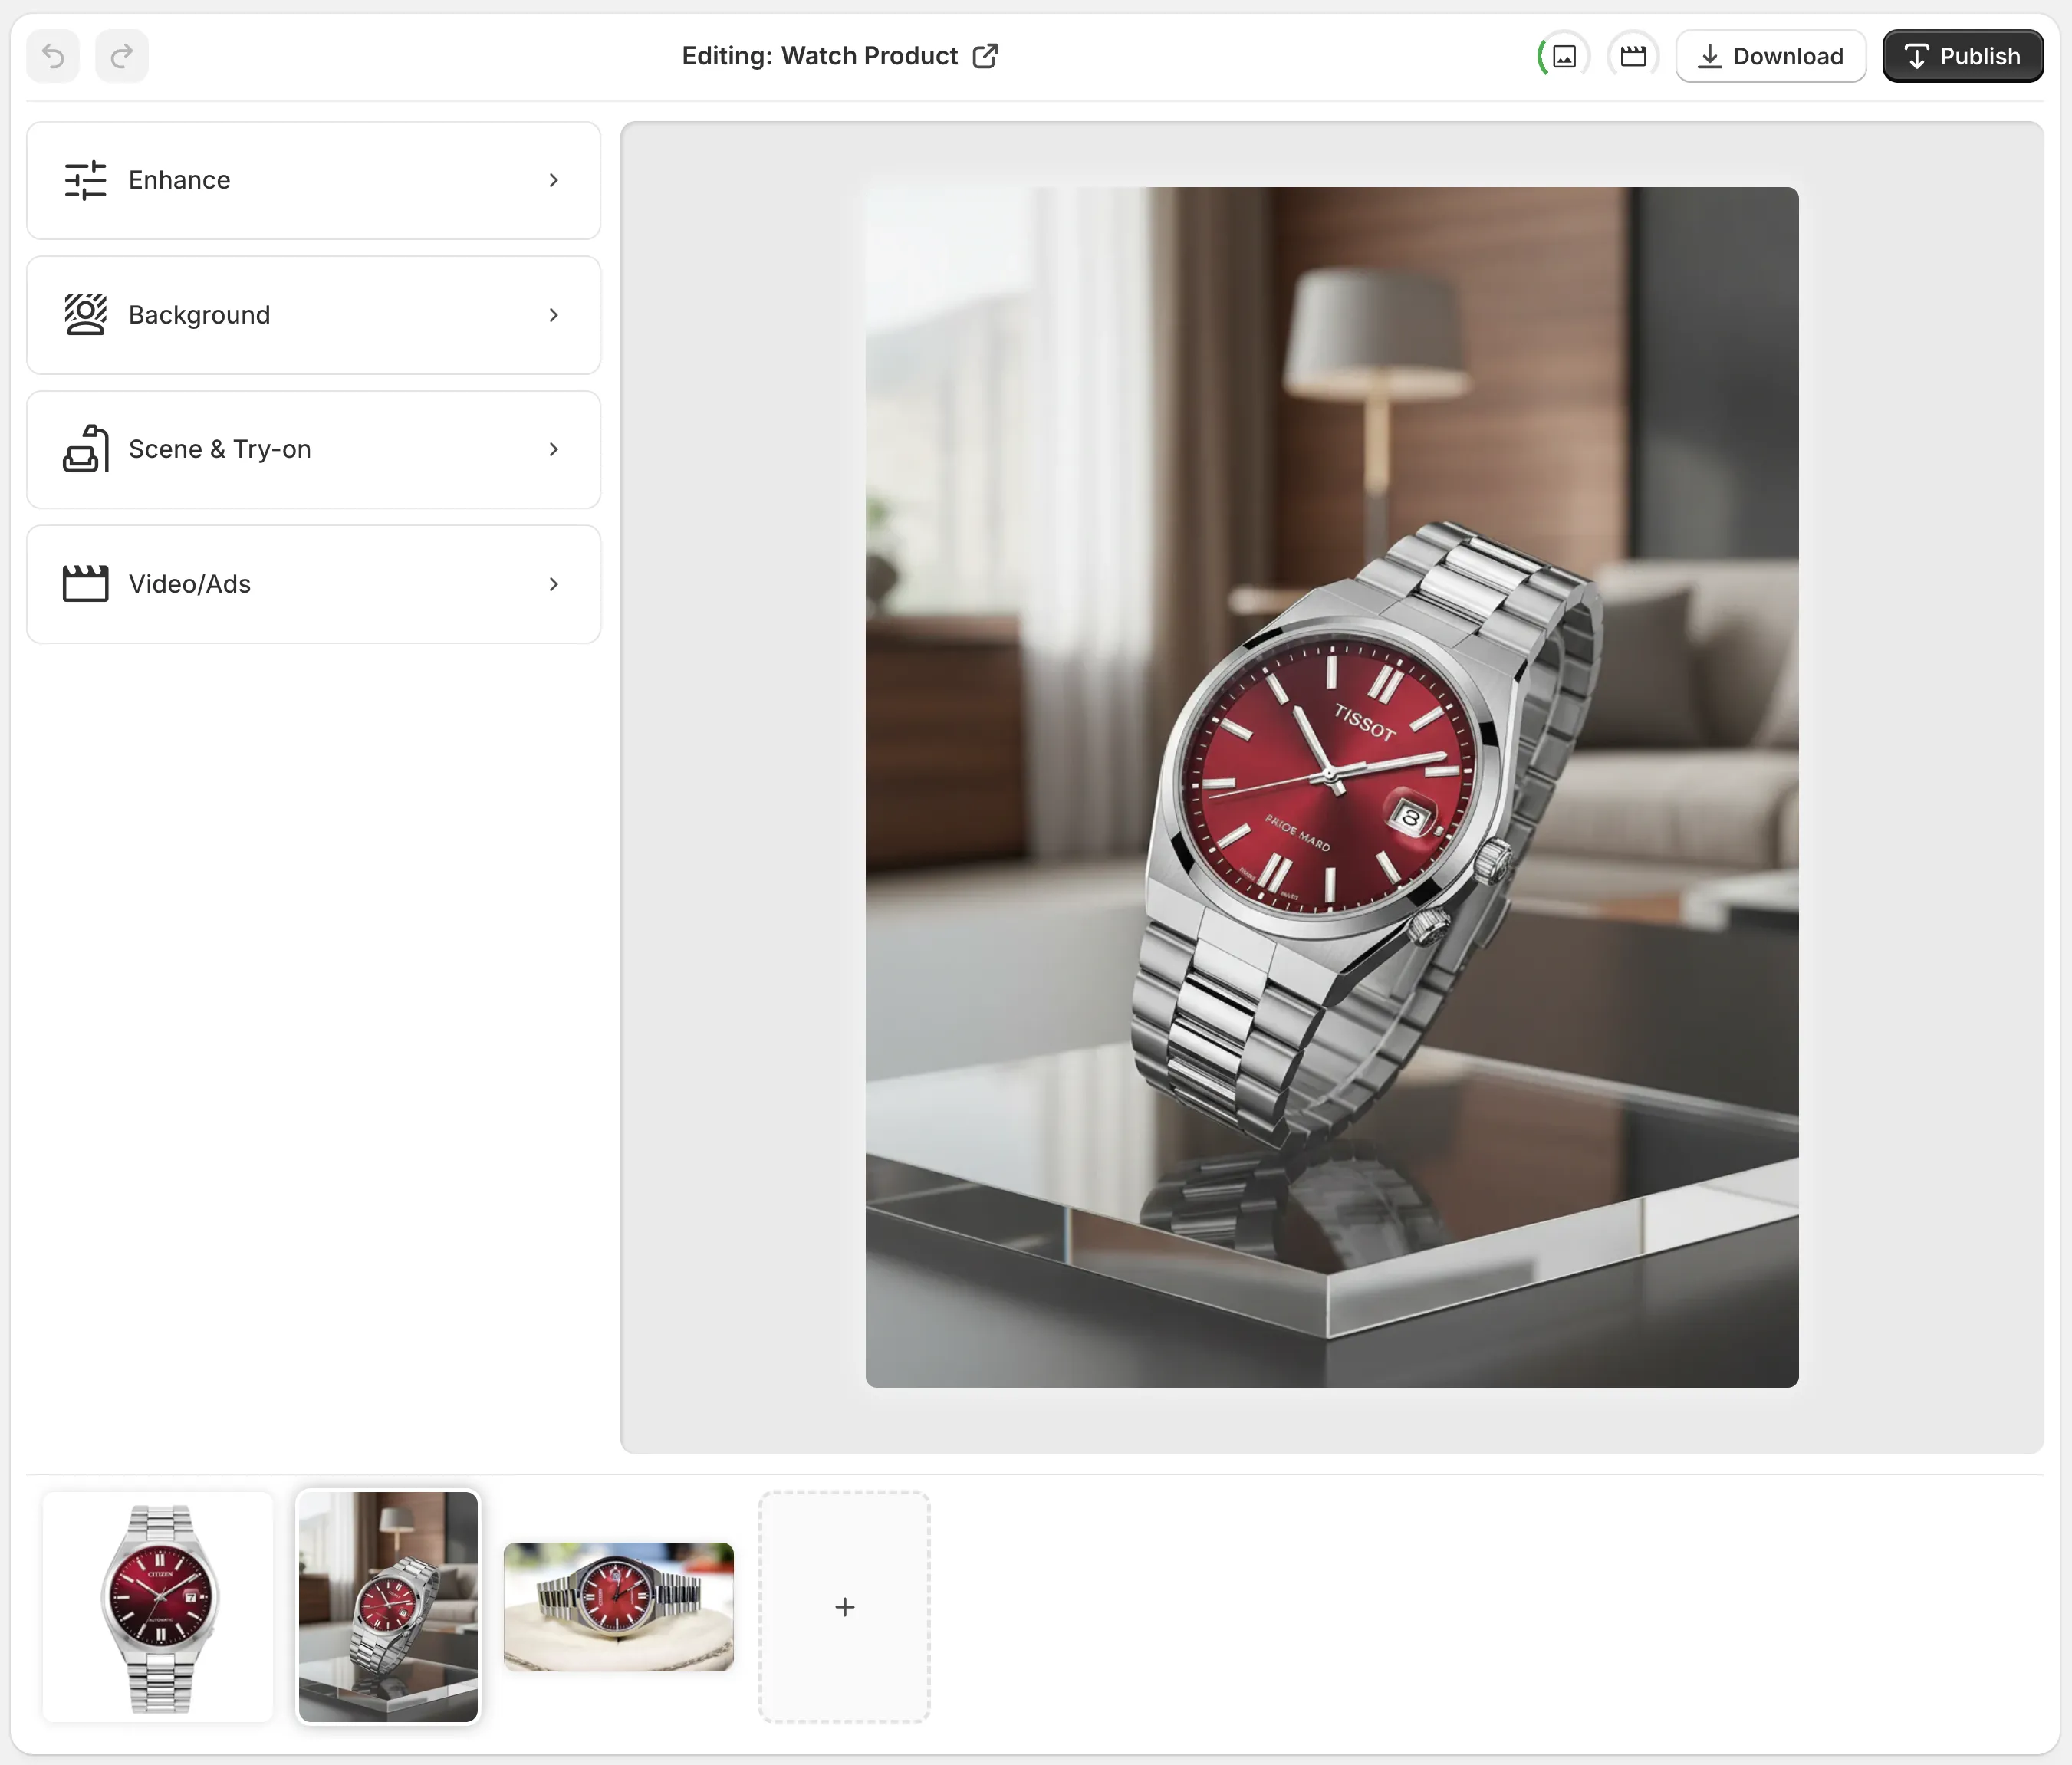
What I would do first:
- Pick the product image I already trust.
- Remove the background or isolate the subject.
- Fix lighting, sharpness, and color.
- Check whether the cropped image still reads well at collection-page size.
- Only then decide whether I need lifestyle placement or video.
The product brief says high-quality images matter and recommends isolating the product before using the virtual try-on or object placement tools. That is the right order. The source image should be boring enough that the output has room to work.
Use Try-On and Placement Separately
Try-on is useful when the product needs to sit on a model and the buyer needs to understand scale and fit. Object placement is for the cases where the product should live in a kitchen, office, boutique, or outdoor scene. I would not mix those two in my head. They solve different problems.

If you sell apparel, jewelry, or accessories, this is where the app gets useful fast. The listing says it supports realistic model try-ons and lets you create or choose your own models.
For household goods or decor, the placement tool is usually the better first move.

If you want the lifestyle-only angle, I already wrote How to Create Lifestyle Product Photos for Shopify Without a Shoot. That version stays focused on scene-building instead of the broader workflow.
Add Video After the Still Image Works
I would not start with video. I would start with one clean still, then reuse that source for short clips and b-roll once the image is already good.
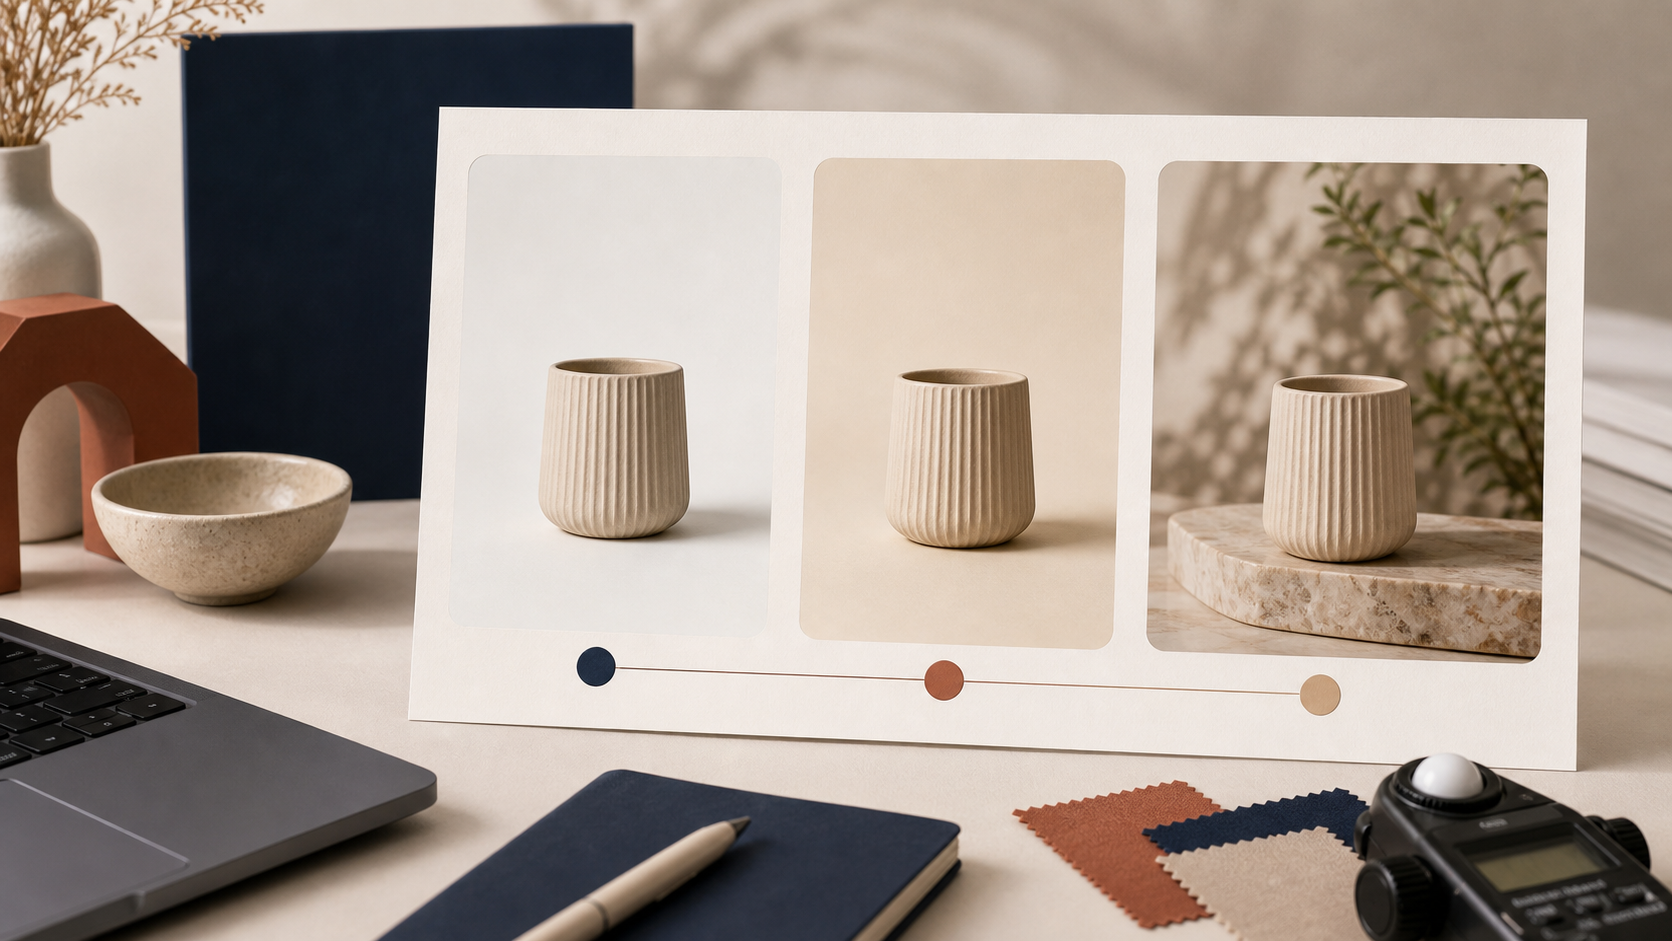
That is where the app's UGC video and b-roll features matter. They are useful because the same source photo can feed the ad pipeline without another shoot. I also covered that adjacent workflow in How to Turn One Shopify Product Into Five UGC Video Ads and How to Turn One Product Brief Into Five Shopify Video Ads.
If you are going to test video, keep the first test small:
- one source image
- one style direction
- one use case, like TikTok or Reels
- one output you can judge in five seconds
The FAQ says you own the images and videos you generate, which matters because the point is not novelty. The point is content you can actually ship.
What I Would Test First
The free plan is enough to prove whether the workflow saves you time. The pricing page in the product brief shows a free tier, then Standard at $14.17/month, Professional at $33.33/month, and Agency at $108.33/month. I would not start by buying the biggest plan. I would test one product and one workflow first.
If I were rolling this into a store, I would test three outputs:
- A cleaned-up catalog image.
- One lifestyle or try-on variation.
- One short video or b-roll derivative.
If those three look consistent, the app earns its place in the stack.
Bottom Line
I do not want to babysit a product photo every time I need a new channel asset. I want one decent source image, one clear editing order, and one way to turn that asset into something I can actually use.
Supra AI Photo Studio makes sense to me for that job because it keeps cleanup, try-on, placement, and video inside the same Shopify workflow. If you want to test it, start with one product, not your whole catalog, and use the free plan to see whether the outputs are good enough to repeat.