How I Turn One Shopify Product Photo Into Listings, Lifestyle Shots, and Clips
I used to think a product photo was done as soon as it looked clean. What I kept running into was that a clean photo is not the same thing as a useful asset. On Shopify, one image has to support the product page, ads, and sometimes social. That is why I started using Supra AI Photo Studio.
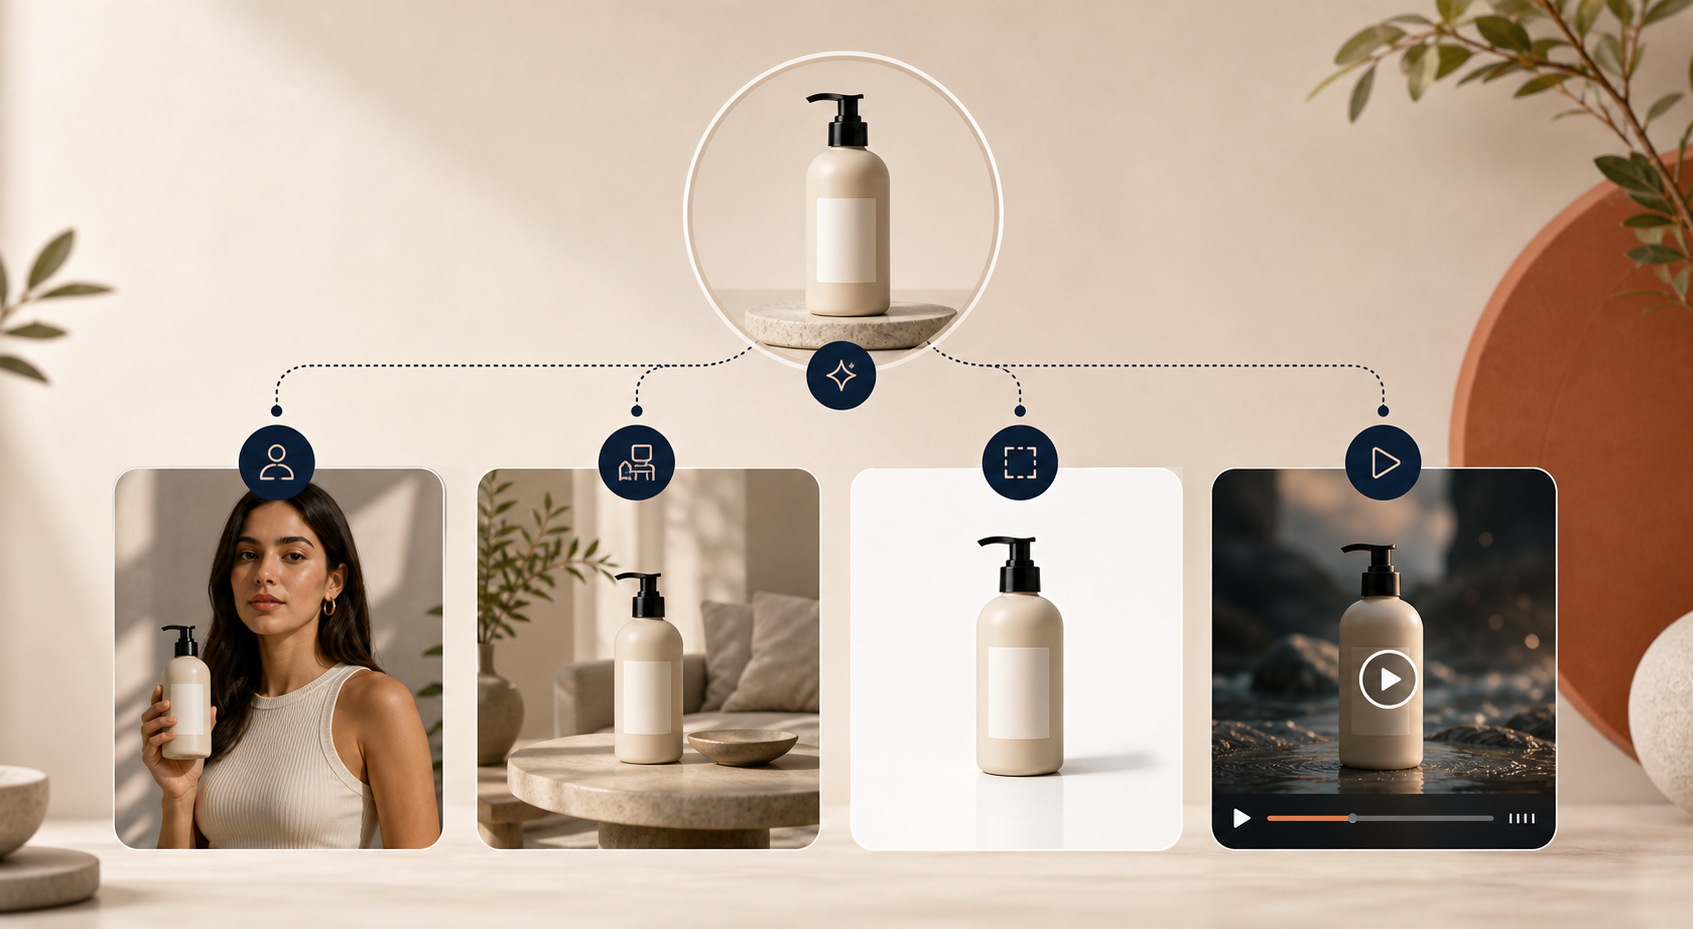
The app lets me take one source photo and branch it into different outputs: background removal, upscaling, lighting cleanup, try-on scenes, object placement, and short product videos. I am not trying to make every product look dramatic. I am trying to make the source image do more work without losing product accuracy.
Start With The Source, Not The Scene
If the original image is blurry, badly lit, or hard to read, I do not jump straight to a fancy scene. I clean it first.
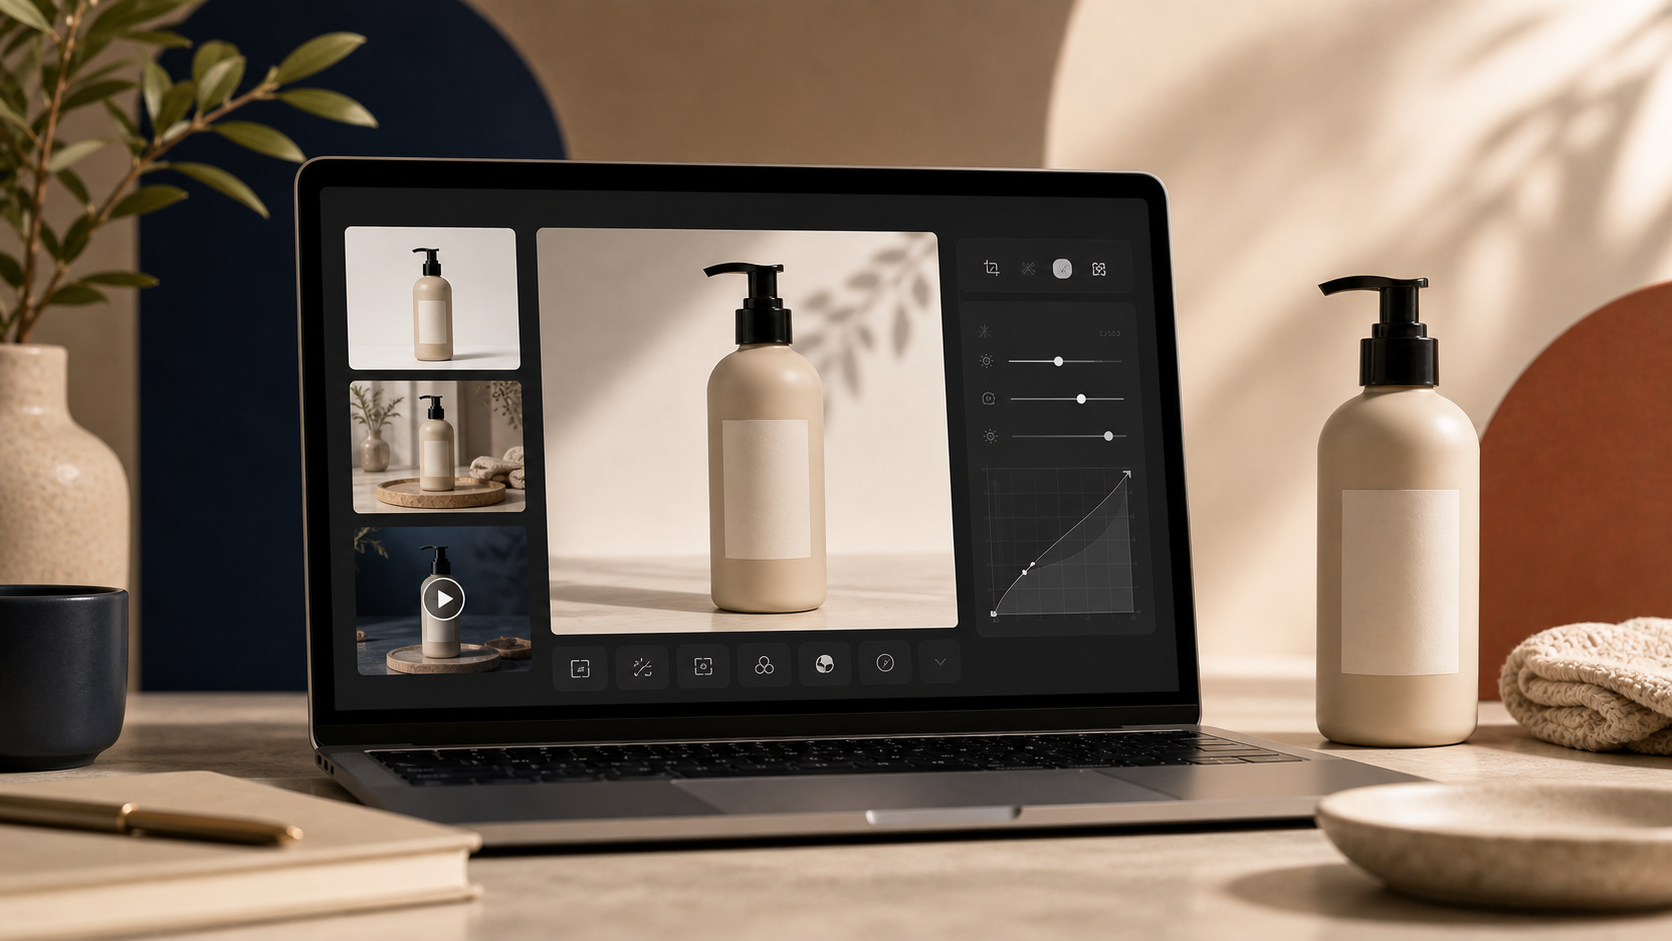
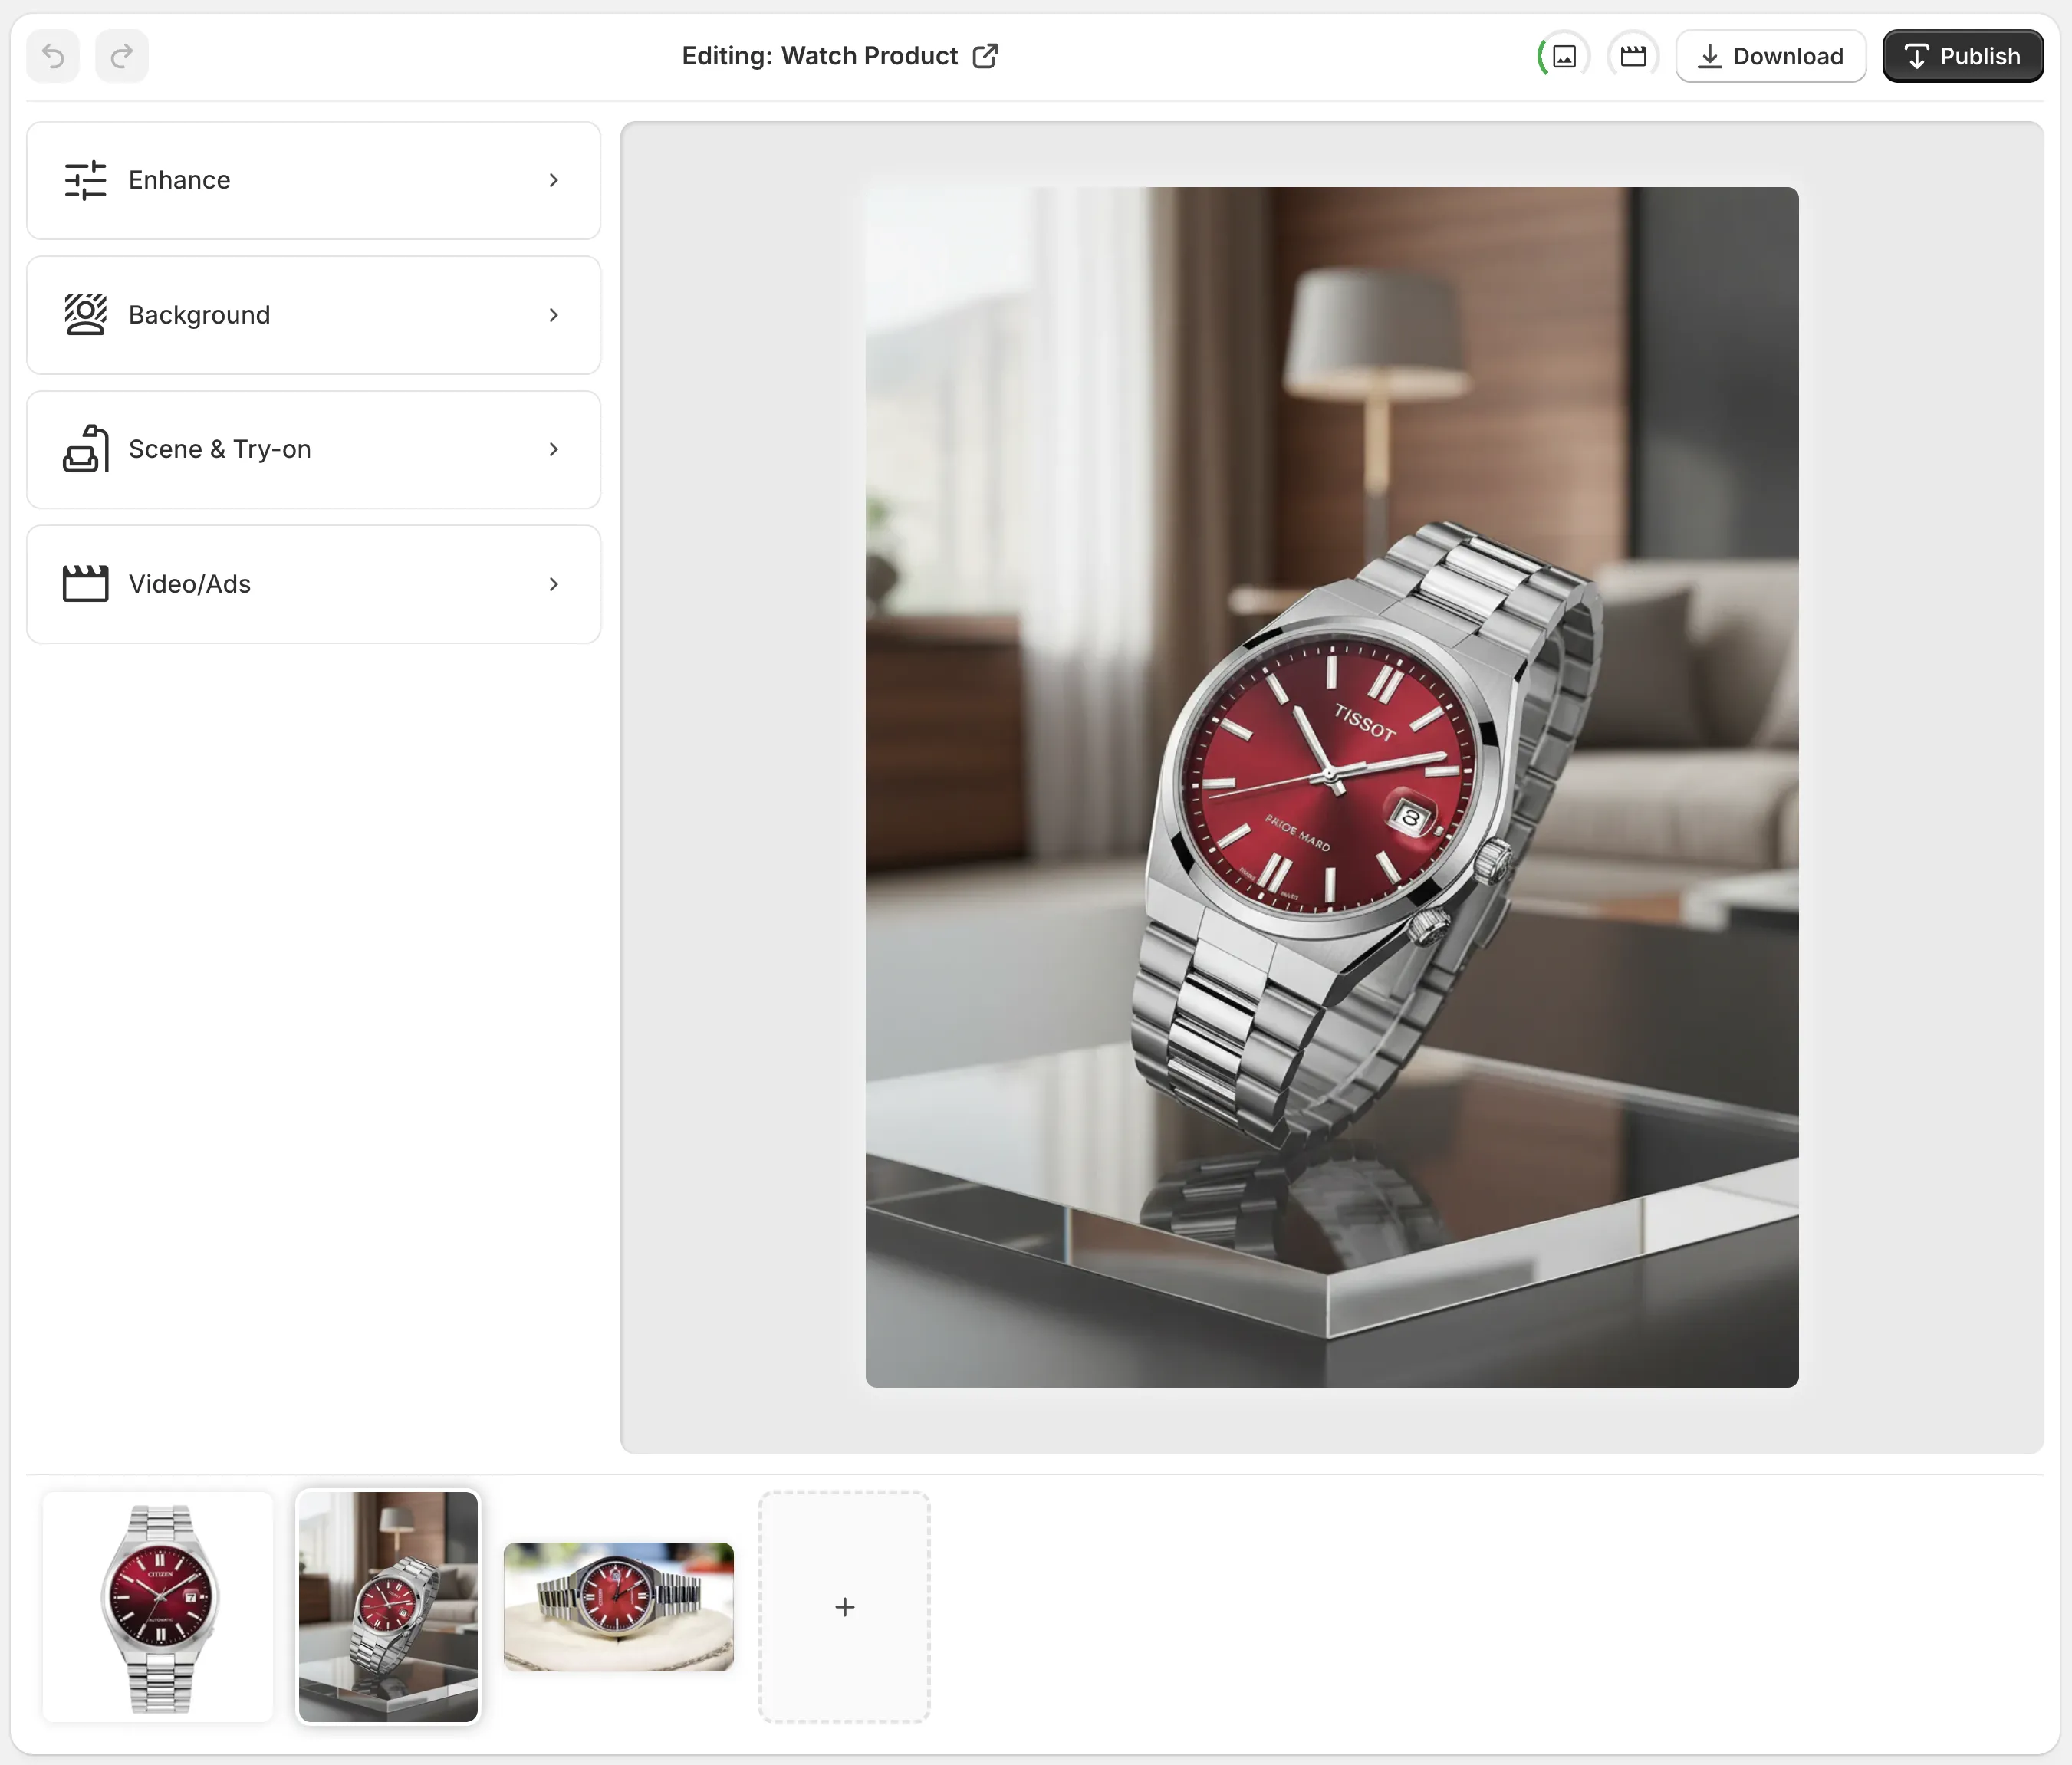
Inside the app, the editor layout is simple enough to keep the workflow moving: tools on the left, canvas on the right, and the gallery below. That matters because I want to fix the photo before I spend time deciding where to place it.
My order is usually:
- Remove the background if the product needs isolation.
- Fix resolution, sharpness, and lighting.
- Decide whether the image needs context or just a cleaner version.
- Only then generate a new scene or clip.
That sequence saves me from wasting time on outputs that still look weak because the source was weak.
Pick The Right Output For The Product
This is where I stop treating every product the same.
For apparel, jewelry, and accessories, try-on is the obvious move. For home goods, consumables, and decor, object placement usually gives me a more believable result. For ads and social, short UGC or b-roll clips are useful once the still image is already solid.

I used to want a single best edit. That is the wrong question. The better question is: what job does this image need to do?
- If it needs trust, I clean it up.
- If it needs context, I place it in a scene.
- If it needs a human feel, I try on the product or stage it on a model.
- If it needs reach, I turn it into video.
That logic lines up with the same decision tree I kept refining in How I Prioritize Shopify Product Photos for AI Editing, How to Choose the Right AI Edit for Each Shopify Product Photo, How to Decide Which Shopify Products Need Try-On, Placement, or Video, and How to Turn One Product Photo Into a Full Shopify Image Set.
What I Actually Use First
When I am moving fast, I do not start with the most advanced feature. I start with the cheapest useful change.
If the product photo is already solid:
- background removal and cleanup;
- lighting and color correction;
- sharpening or upscaling.
If the product needs more context:
- object placement into a studio, boutique, or lifestyle room;
- model try-on for apparel and accessories.
If the channel needs motion:
- UGC-style video;
- b-roll clips for ads or social.
The point is not to generate more content for its own sake. The point is to turn one decent product shot into a small asset set that can support the store without a separate photo shoot.
The Part I Trust Most
I am skeptical of anything that makes every product look the same. That is why I like that Supra AI Photo Studio includes several different output types instead of forcing one visual style.
The Shopify App Store listing and the landing page both show the feature mix clearly: enhancements, try-on, object placement, mockups, and product video. The free plan also makes it easy to test the workflow on one SKU before deciding whether it belongs in the stack.
If I were setting this up today, I would start with one product, make one cleaned-up image, one contextual scene, and one short clip. That is enough to see whether the workflow saves time and whether the result looks like something I would actually publish.
Final Take
I do not think product photography is a single finished moment anymore. It is a chain of outputs. Clean the source, add context when the product needs it, and only then branch into video.
If you want to test that workflow, start with the Shopify App Store listing or the landing page and run it on one SKU before you roll it across the catalog.